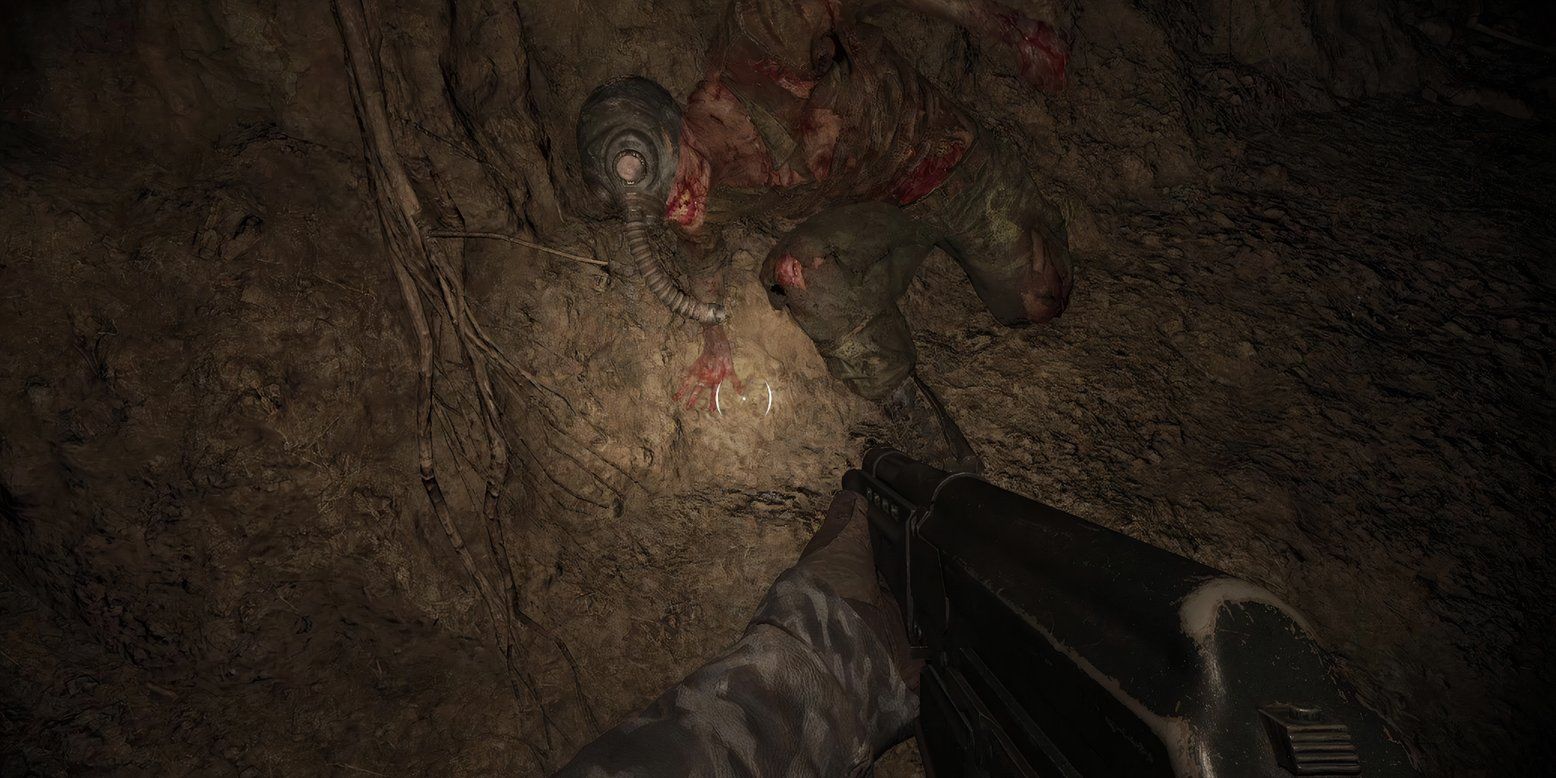
The Zone is home to many wonders, but you’d be hard-pressed to find a single stalker that includes mutants in this category.
In STALKER 2: Heart of Chornobyl, mutants serve two purposes: to kill you or to exhaust your supplies so another mutant or stalker can kill you.
These abominations are everywhere you look, especially if there is a stash or objective nearby.
This list helps you tell apart what kind of mutant you are dealing with, and how to kill it quickly. Good hunting, stalker.
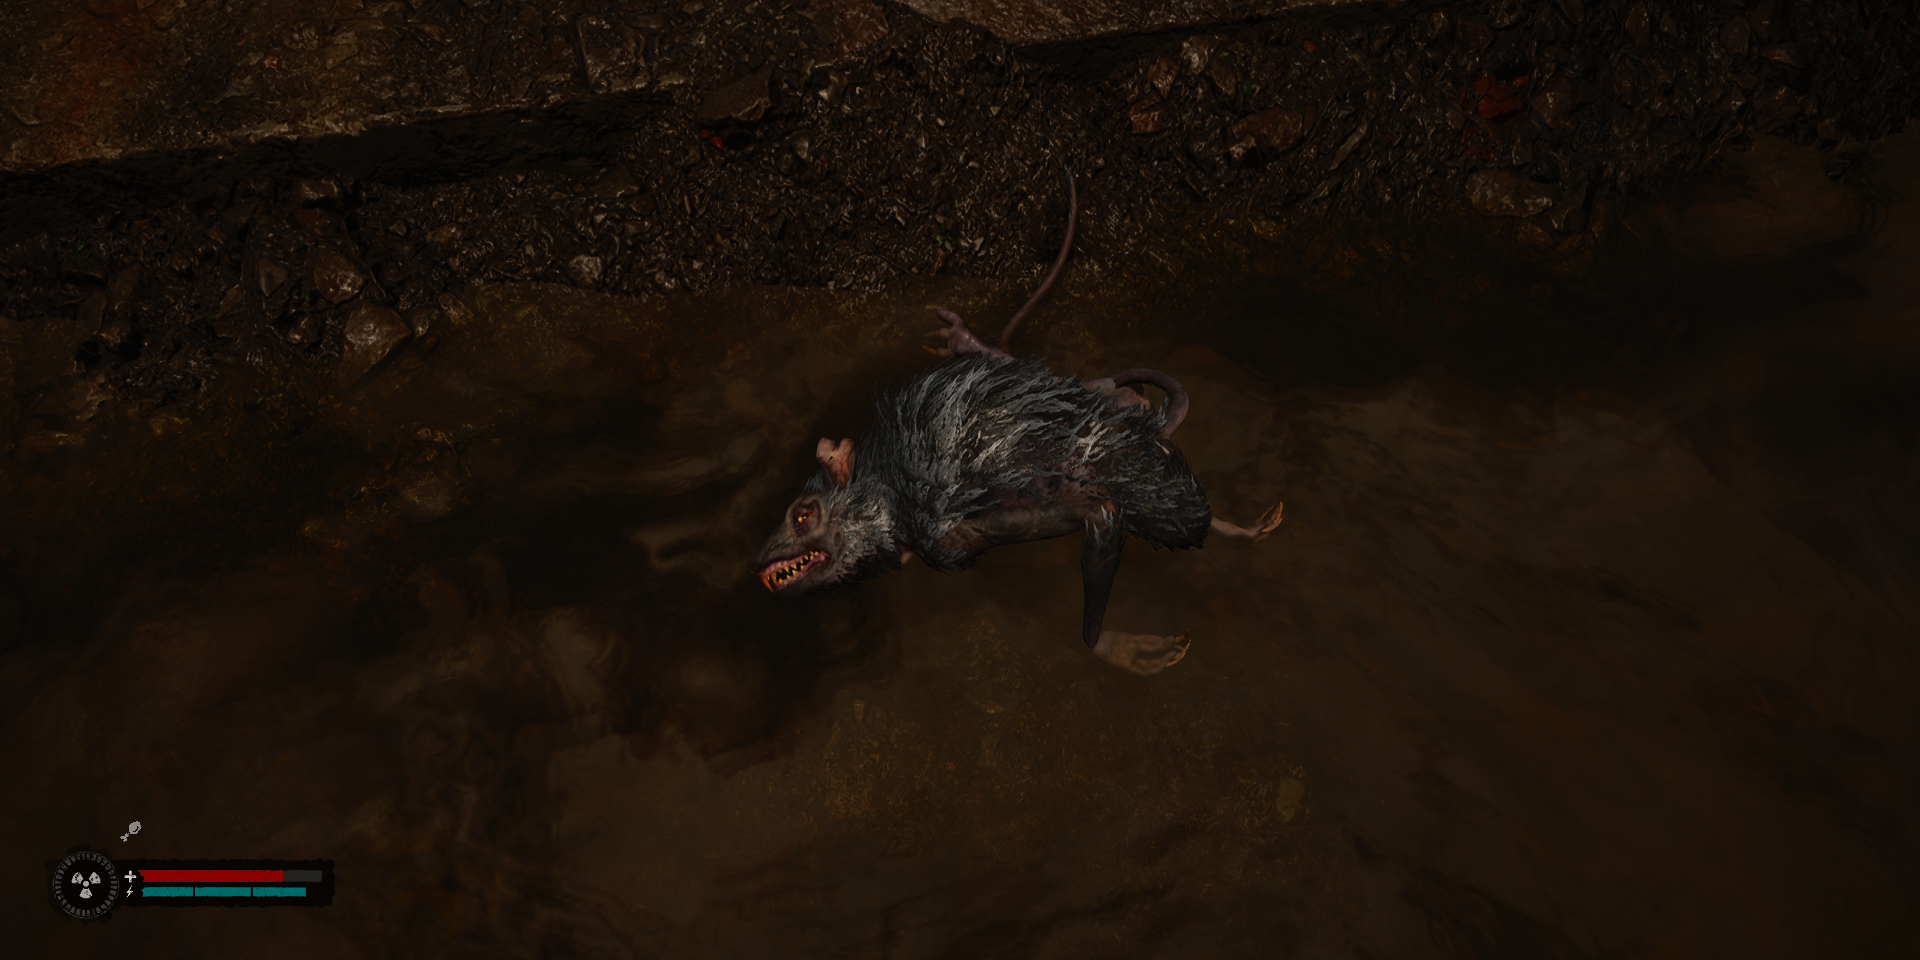
14 Rodent
Death By A Thousand Bites
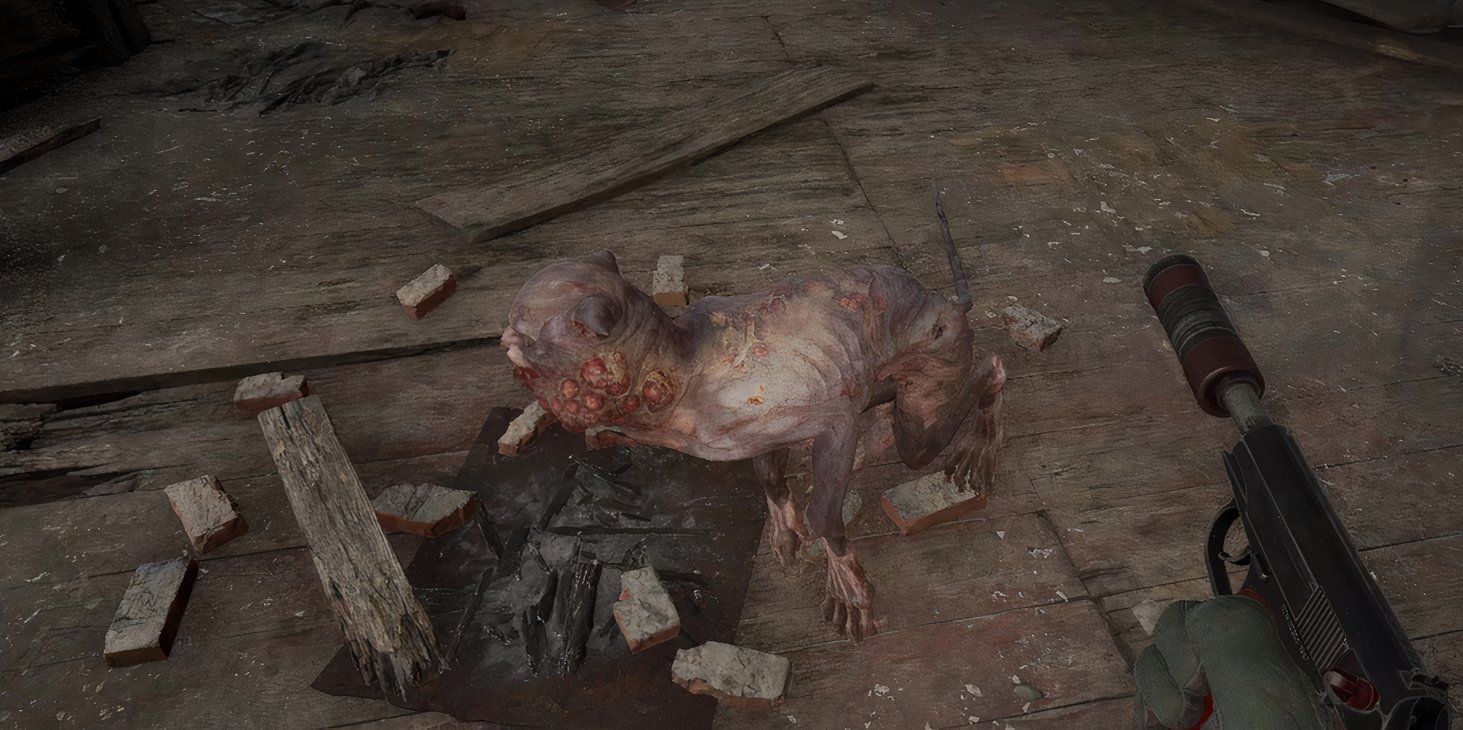
Tushkano, rodent, hamster, it’s all the same. These little goblins die easily and do not deal much damage, but they are the bane of a stalker’s existence.
Rodents always live in packs, sometimes exceeding two dozen at once, and prefer to roam in closed spaces like sewer pipes or underground corridors.
They can leap to considerable heights so you cannot realistically climb away from them, and their habit of swarming humans makes it hard to get rid of them with grenades if you want to make it out alive.
The easiest way to kill a horde of rodents is to pull out a shotgun and blast the area with buckshot.
The most infuriating part of it all is that this is guaranteed to give out your position to hostile stalkers and other mutants, all because some mutated giant rat couldn’t control its murderous urges.
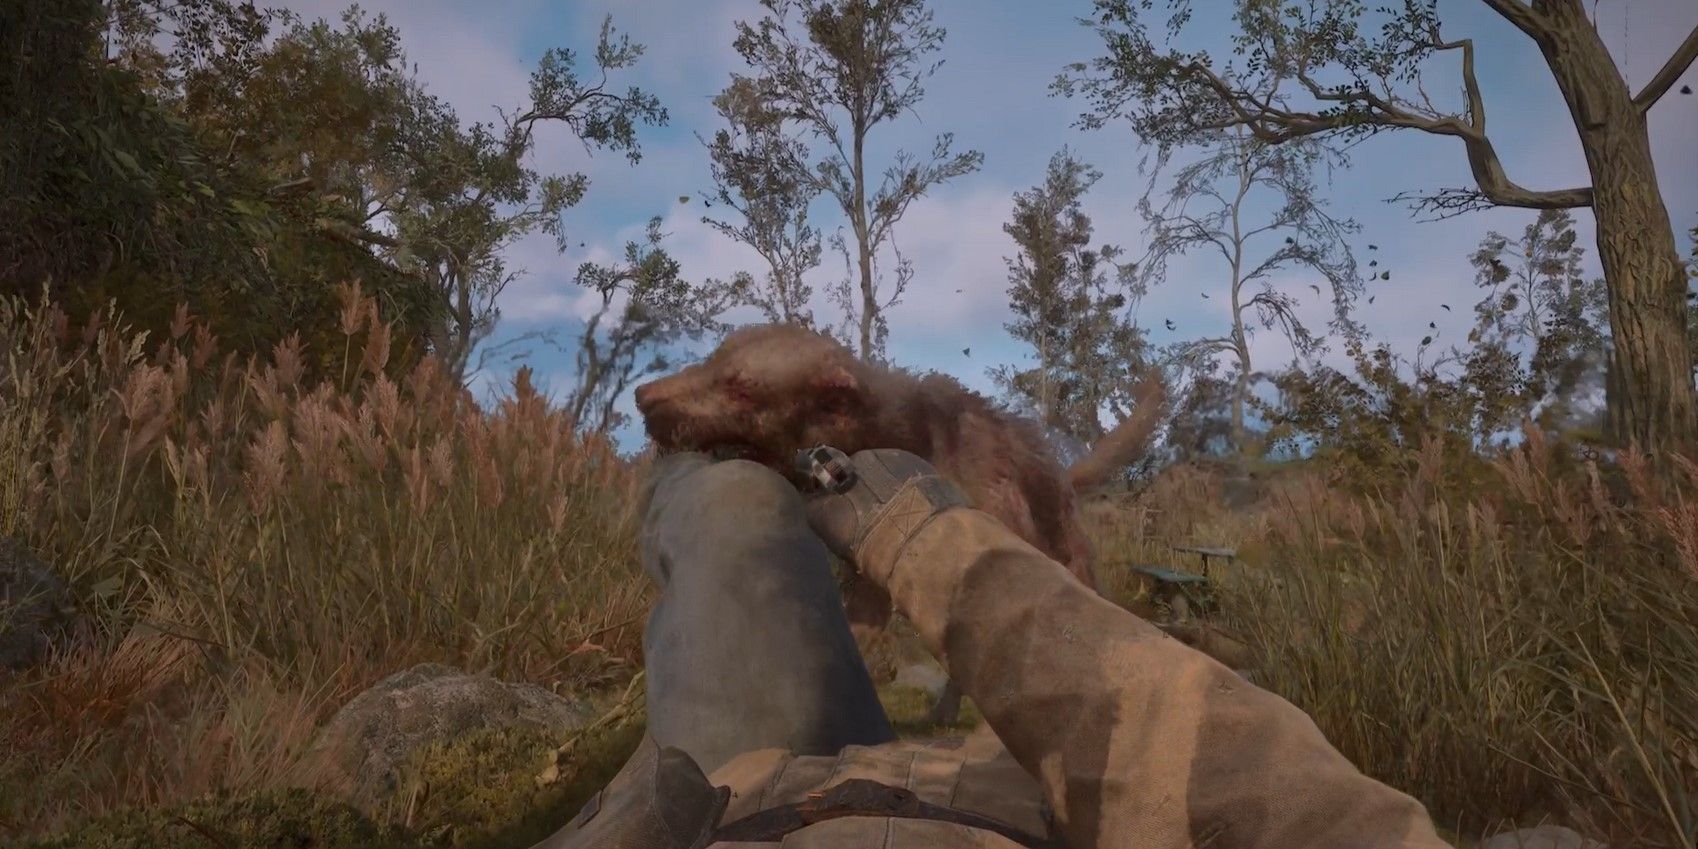
13 Blind Dog
Not Your Mama’s Puppy
The blind dog is not too different from the stray dog you can find in your neighborhood, except it traded its eyesight for an excellent sense of smell and hearing.
Blind dogs can navigate around anomalies and are hard to lose once they are on your tail. They have a relatively low health bar and thin hides that can be penetrated even by 9x18mm FMJ rounds.
They traditionally run up to you, dish out a couple of bites, and then run back to reposition. While a blind dog’s bite is not particularly deadly, it almost always leaves you bleeding.
Most blind dog deaths come from stalkers who are caught by a pack and take too long to bandage a bleeding wound, eventually succumbing to the pack. You can avoid this fate by climbing on any structure and shooting them from there.
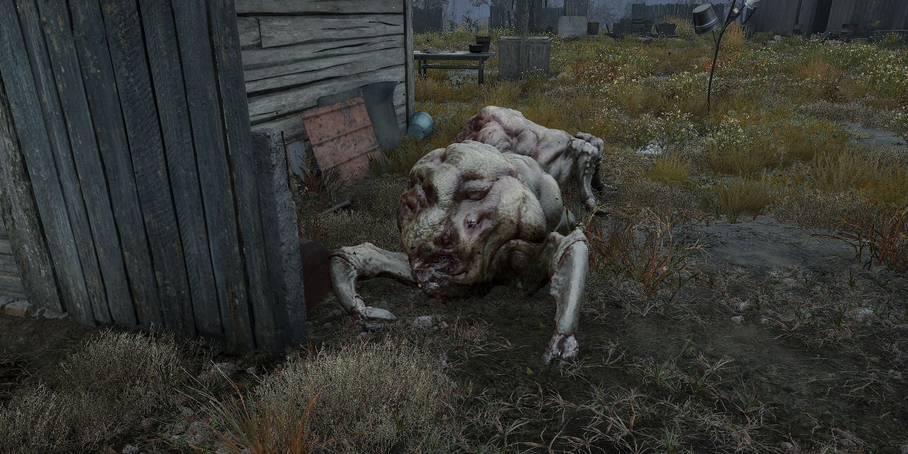
12 Flesh
The Leaping Crab Pigs
Once upon a time, the running joke of the Zone, the flesh, is now a serious enemy. They normally roam in packs of four to six.
These crustacean-swine hybrid blobs do not deal massive damage to stalkers, but they move quickly and can pounce from a decent range to hit you.
The flesh in STALKER 2: Heart of Chornobyl is vicious, and will repeatedly claw at you until one of you is dead.
The flesh has no special weak spots or any protection worth mentioning, so even Skif’s PTM can do the job if you want to spare your main weapon.
Alternatively, the flesh has a poor sense of anomalies, so hiding behind one as it charges remains viable.
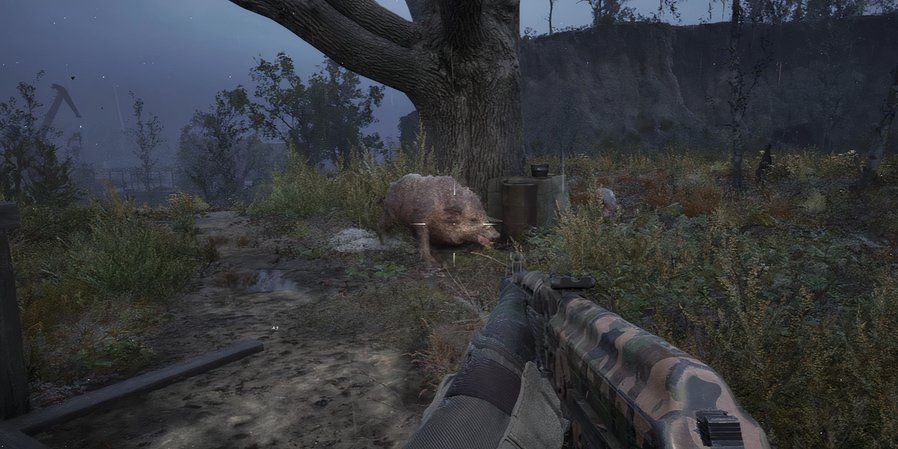
11 Boar
Hostile, Hungry, And Tanky
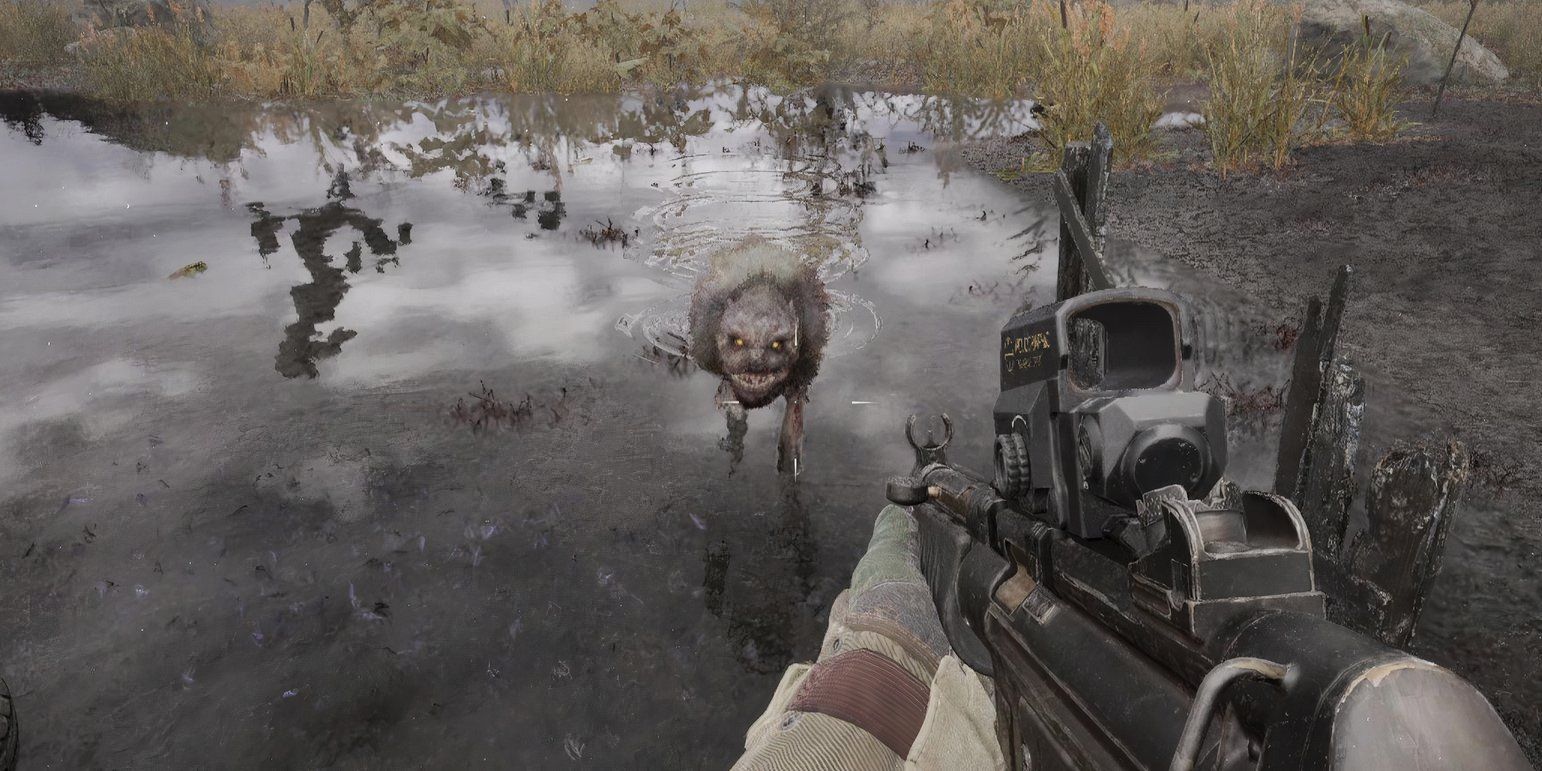
The boar is one of the least mutated animals native to the Zone, but it developed a taste for human flesh that is mildly inconvenient to stalkers.
Most boars roam in groups of two to five, and their poor senses mean it is possible to sneak by them without a fight sometimes.
Boars can attack using their tusks or headbutt their target. They prefer the latter and stay mobile during fights to leverage that.
A boar charge can knock you down, taking almost half of your health pool in the process, and leaving you vulnerable to other enemies.
Although boars have a modest health pool, their brains are quite small and protected by a thick skull. The best way to kill them is to pepper their flanks with shotgun shells.
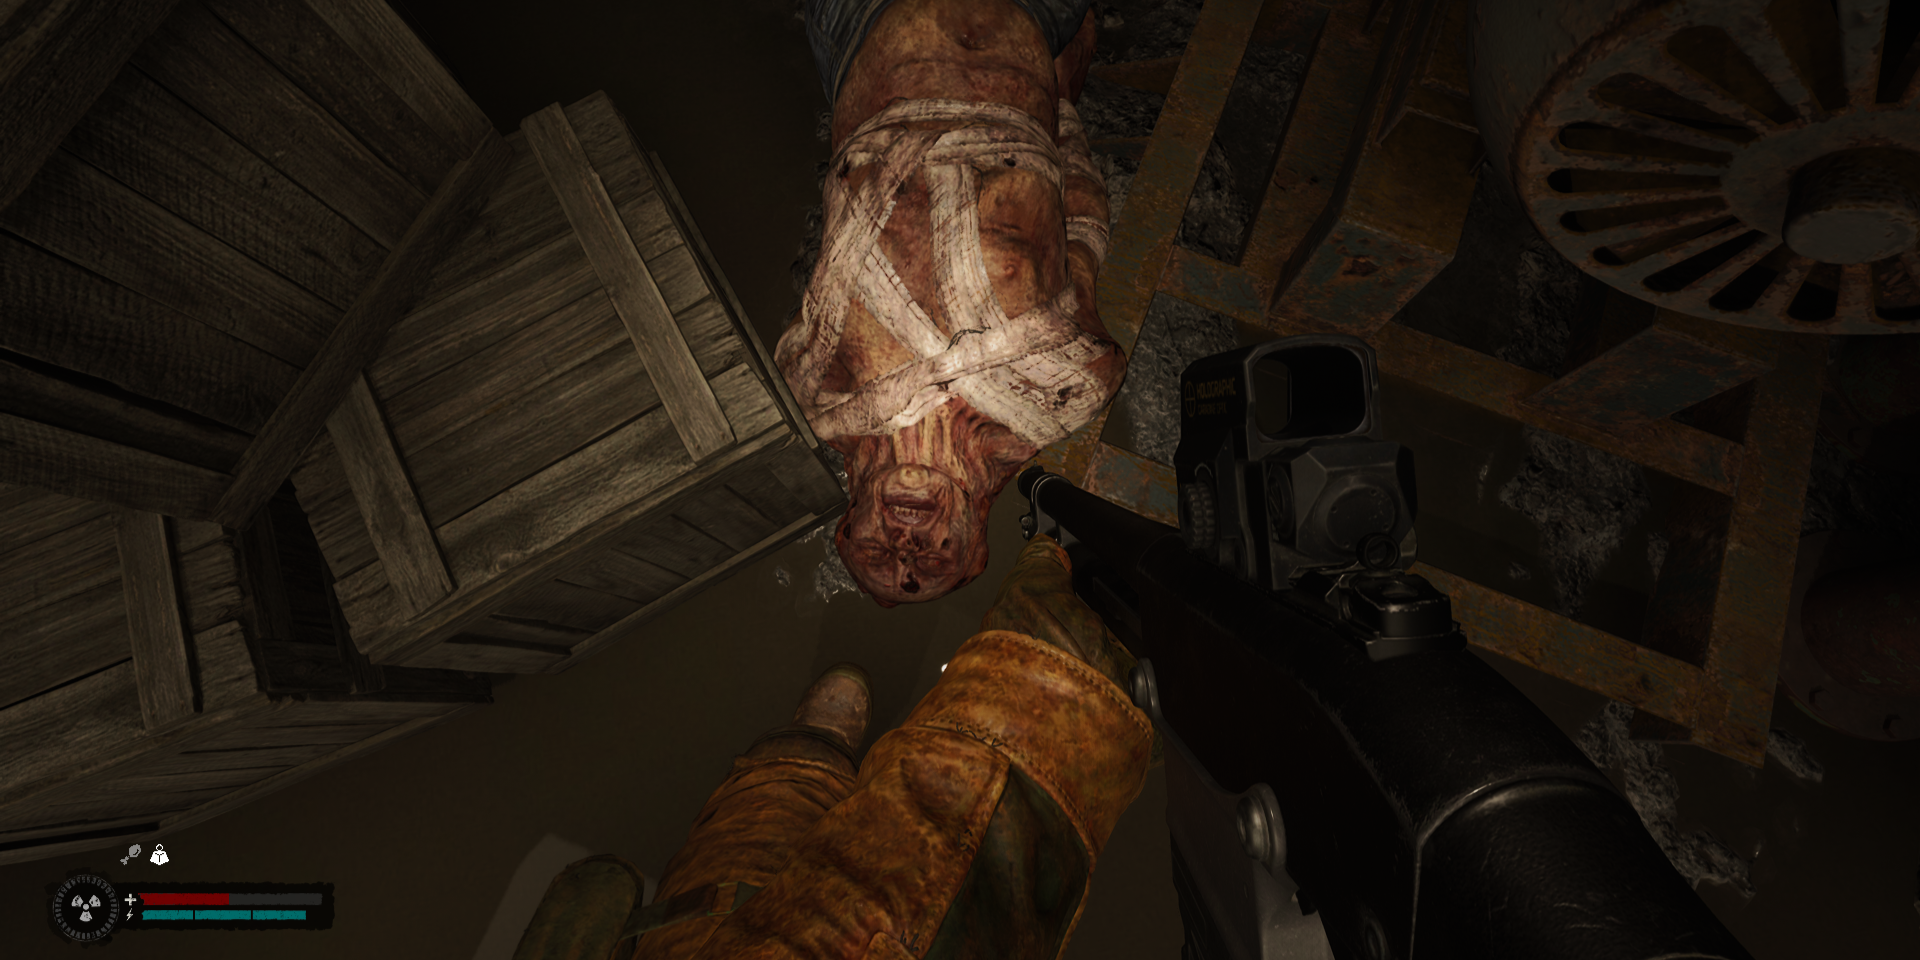
10 Snork
Decomposing Harbingers of Doom
Objectively, the Snork should be no big deal. These decaying human remains die with a few shots, and their attacks are not particularly powerful.
What makes snorks terrifying is their method of hunting. These specimens tend to roam in groups and charge their prey from multiple directions. They are exceptional jumpers, so seemingly safe platforms offer no comfort for a fleeing stalker.
Snorks can kick, bite, and scratch stalkers, but it is their leaping strike that stands out. The snork jumps over 2 meters in the air to strike. You either hit it mid-air with everything you have, or it gets you.
9 Cat
Murder-Parkour Enthusiasts
There is nothing particularly comforting about this kitty. Cats are relatively rare compared to other mutated animals, but they make up for it in ferocity.
The Zone’s Cat is a large feline with exceptional agility, a terrifying roar, and very sharp claws. They dodge incoming shots, can jump onto any platform, and deal massive damage with each swipe.
Although any round is effective against cats, landing a hit is no easy feat. You can get around this by using buckshot shells, or a submachine gun with an extended mag.
8 Poltergeist
Violent Interior Designers
The danger posed by a poltergeist is inversely proportional to the size of the room you are in.
These invisible mutants with telekinetic powers attack by flinging loose objects at you, which take away a third or more of your health bar per hit. If a poltergeist floats past you, it can inflict physical attacks, but the mutant tries to keep its distance.
Despite not being as dangerous or aggressive as other entries down this list, the poltergeist has a massive health pool that allows it to wear you down.
There are two ways of dealing with these creatures. The first one is through sheer violence: run after it Rambo-style and use every bit of ammunition you have.
If you are low on ammo or are not in the mood to fight, you can exploit a major weakness in this mutant’s senses.
The poltergeist detects movement, so if you crouch and pace yourself, it is possible to leave the area without wasting ammo and meds.
Occasionally, you will meet the fiery variety of the poltergeist. The fire variety is quieter and more aggressive, resorting to spawning fire anomalies directed at you. The same principles apply in a fight.
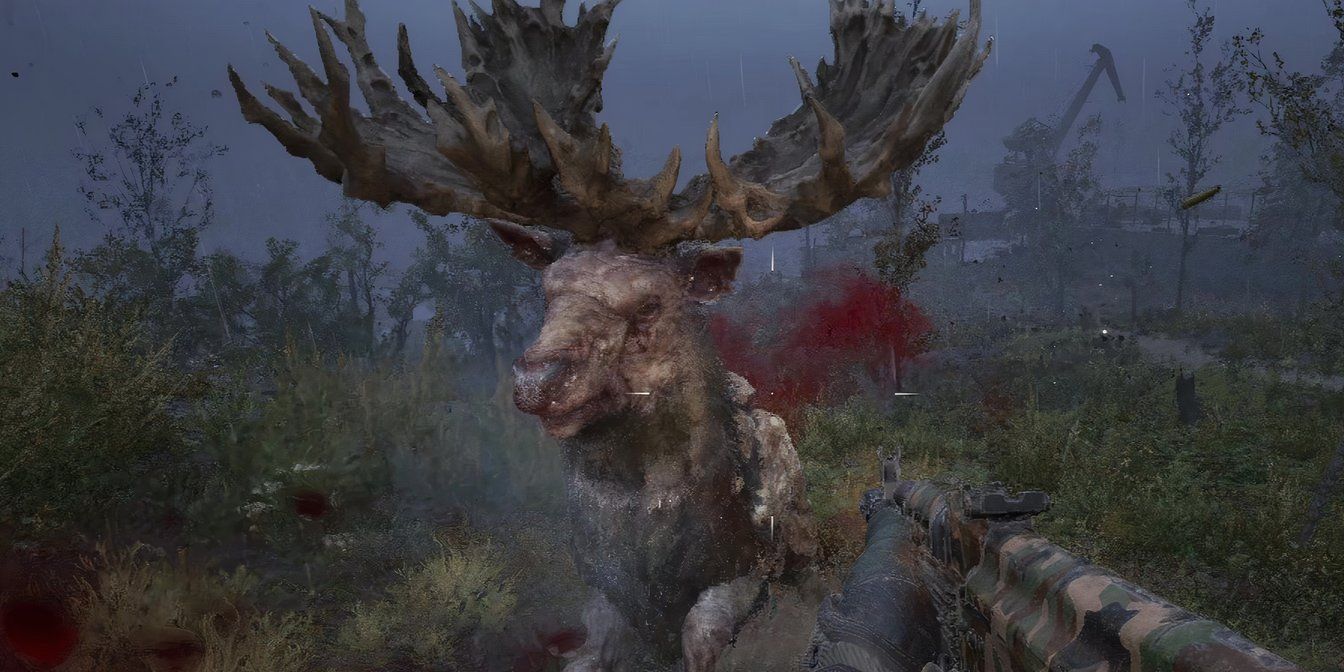
7 Mutated Elk
A Hunter’s Dream
Sometimes, a hunter misses a more traditional game in the Zone, and this hellhole delivers.
This elk might look ordinary from afar, but the Zone’s mutations have given it a carapace that covers most of its body. Ammo with decent armor-piercing capacity comes in handy here.
The mutated elk has a large health pool and employs charge attacks similar to the boars, but its shriek can disorient you for a few seconds.
The unique aspect of the mutated elk is that it rallies other nearby mutants to fight on its side, instead of competing with them.
Its tactic is to distract you with that blind dog while it lines up a deadly attack, so stay sharp.
6 Burer
The Deadliest Master of Telekinesis
The Burer is one of the cruelest mutants in STALKER 2. Burers start by throwing objects at you much like poltergeists do, but they can also yank your weapon out of your hands.
Once the Burer is wounded, it raises a barrier around itself, becoming temporarily immune to damage.
Burers have excellent reflexes, which lets them return grenades to the sender before they go off. If you fail to pick your weapon back up, Burers can turn them on you and fire until ammunition runs out, before hitting you with them.
This is a death sentence if you bring in a light machine gun or, the Wish Granter forbid, an RPG to the fight.
The secret to killing a Burer is to stay mobile to avoid its distance punch that can hit you behind cover.
Trigger its barrier with any weapon, then bring out a heavy weapon like a .308 or 7.62x54R rifle. As soon as the Burer lets its guard down, unload the entire magazine against it.
5 Bloodsucker
The Invisible Vampire
The developers of STALKER 2 are evil, but not as much as the bloodsucker. You meet this mutant on the very first mission, and it has a habit of showing up when you least need it.
The bloodsucker has a huge health pool, making light cartridges nigh useless against it.
Once it sniffs out a target, the bloodsucker blends in with the surrounding terrain while rushing to strike, making it almost impossible to spot, let alone hit.
Bloodsuckers only uncloak immediately before striking, giving you mere seconds to score a hit. Each bloodsucker strike drains your health almost by half and inflicts a bleeding wound.
If you try to corner it, a bloodsucker will claw at you repeatedly until you back off or die. This rarely ends well for the stalker.
Your best shot at fighting a bloodsucker is to have a high-damage weapon with a large magazine and a decent rate of fire. Wait until it runs straight at you, then unload the entire magazine as soon as you notice its cloak.
You will likely get hit at least once, but you will have time to use a medkit in between.
Although it may feel counterintuitive, marksman rifles like the EBR or the SVD are perfect at dealing with bloodsuckers. Semi-automatic shotguns like the Saiga D-12 are also strong contenders here.
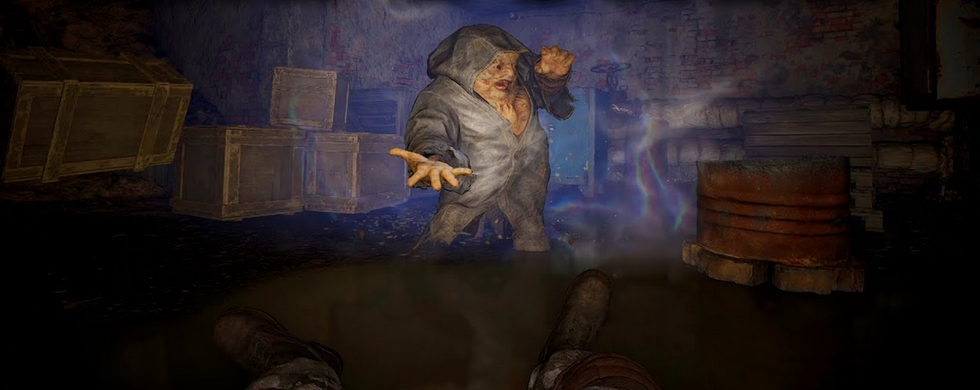
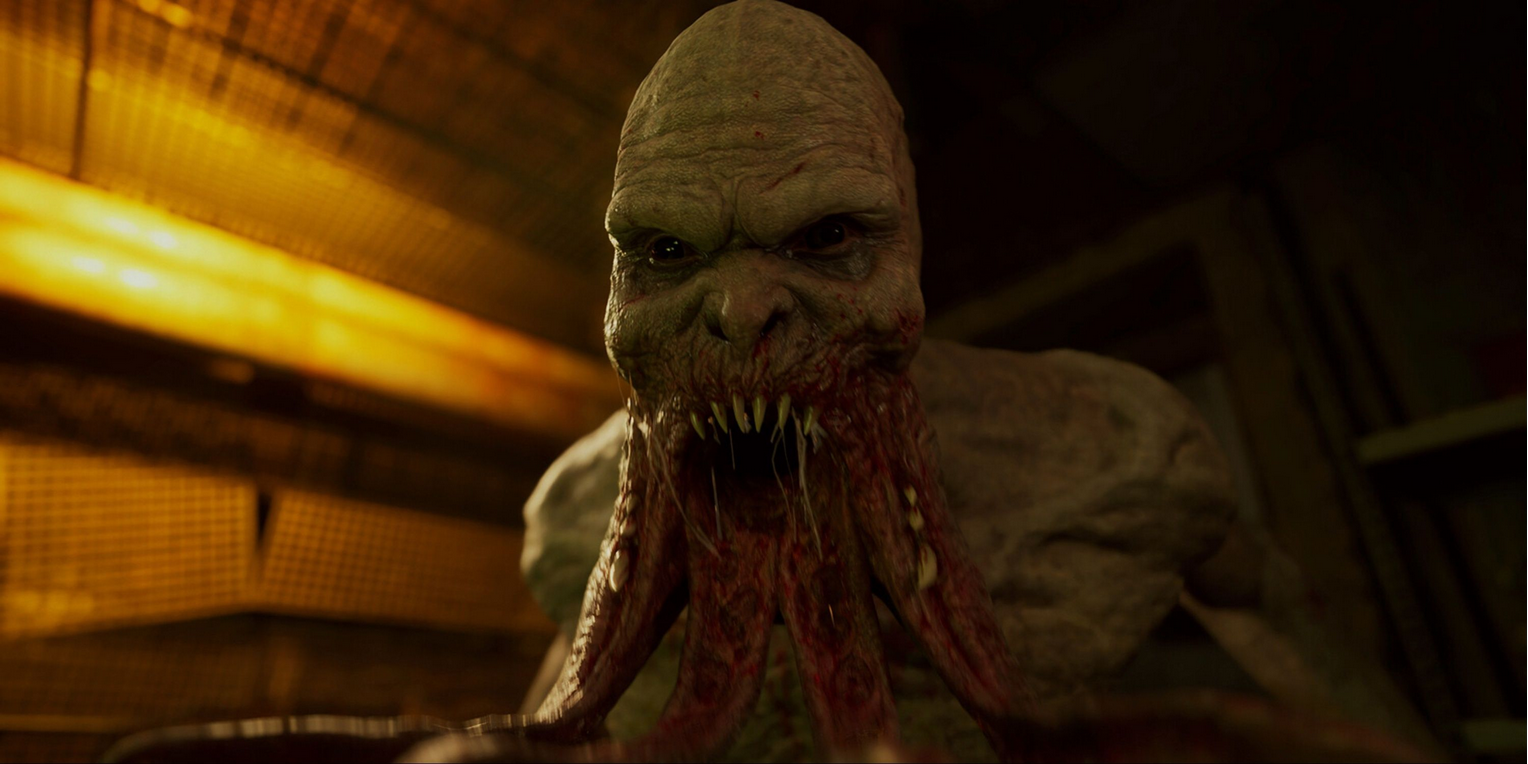
4 Controller
Fighting With Brains
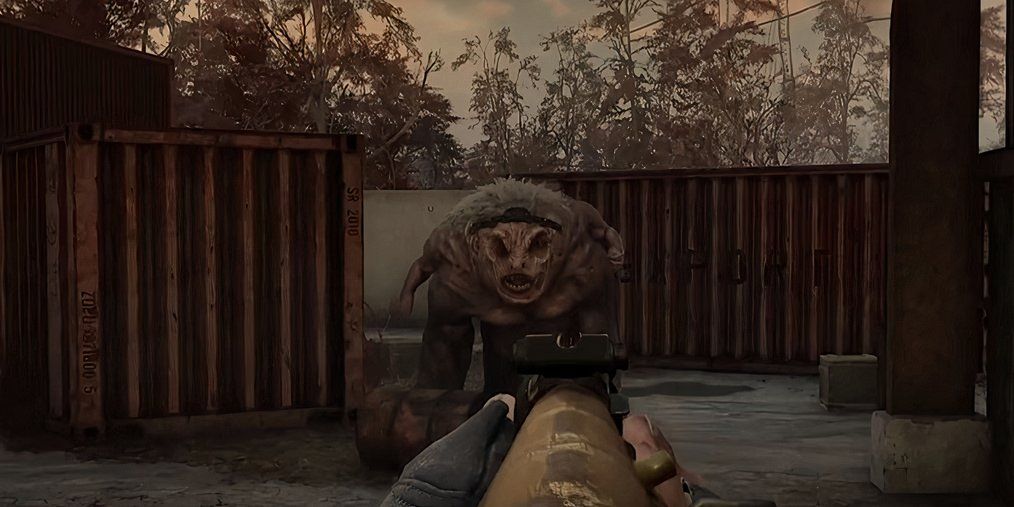
The Controller is a terrifying mutant that uses your mind to defeat you. It normally lurks in abandoned underground installations where you cannot escape its attacks easily.
If the Controller sees you, it can deal massive damage with a ranged psi-bolt that stuns you.
The closer the Controller is, the more psychic damage it can dish out, draining your health bar through twisted hallucinations.
Additionally, these nice folks can control zombified stalkers, sending a horde of living dead to end you.
Related
STALKER 2: How To Farm Artifacts
It’s a risky business, but farming artifacts can be very lucrative
The first thing you need to do once you identify a Controller is to drink some psi-block. This will protect you against psychic attacks, allowing you to face the controller in more even terms.
Killing these guys requires being relentless, pushing right up to their faces, and blasting with everything you have. Psi-block lets you do that without losing most of your health from the psi-bolt.
Make sure not to stay in melee range, as the Controller’s claws are extremely deadly. Due to its lumbering pace, it is also possible to overwhelm Controllers with grenades.
3 Psy-Dog
When One Is Too Many
The Psy-dog is the kind of mutant that makes you appreciate the regular dog packs.
These are mutated wolves that gained psychic abilities through experimentations in the many secret labs of the Zone.
Once it spots its prey, the psy-dog spawns an entire pack of phantoms that deal very real damage.
The real mutant disguises itself among the projections, avoiding getting too close, but the intensity of the phantom attacks makes it hard to keep track of the source.
If you manage to kill the illusions, the psy-dog will simply create new ones after a few seconds. Kill it before it does, if you want to live.
2 Pseudogiant
Because Size Does Matter Here
This vaguely humanoid abomination is a rare sight in the Zone, and most of those who encounter it do not live to tell the tale.
The Pseudogiant has overwhelming strength and a huge health bar, making it a threat even to large groups of stalkers.
Its long limbs allow it to chase down any target, and its stomping can send a shockwave that knocks you down.
If you have the chance, the easiest way to survive a pseudogiant encounter is to run as fast as you can and hope it gets distracted by another target en route.
When escaping is not an option, try to climb on the highest structure you can find, count your rounds, and start shooting. You are in for a long ride.
1 Chimera
The Top of the Food Chain
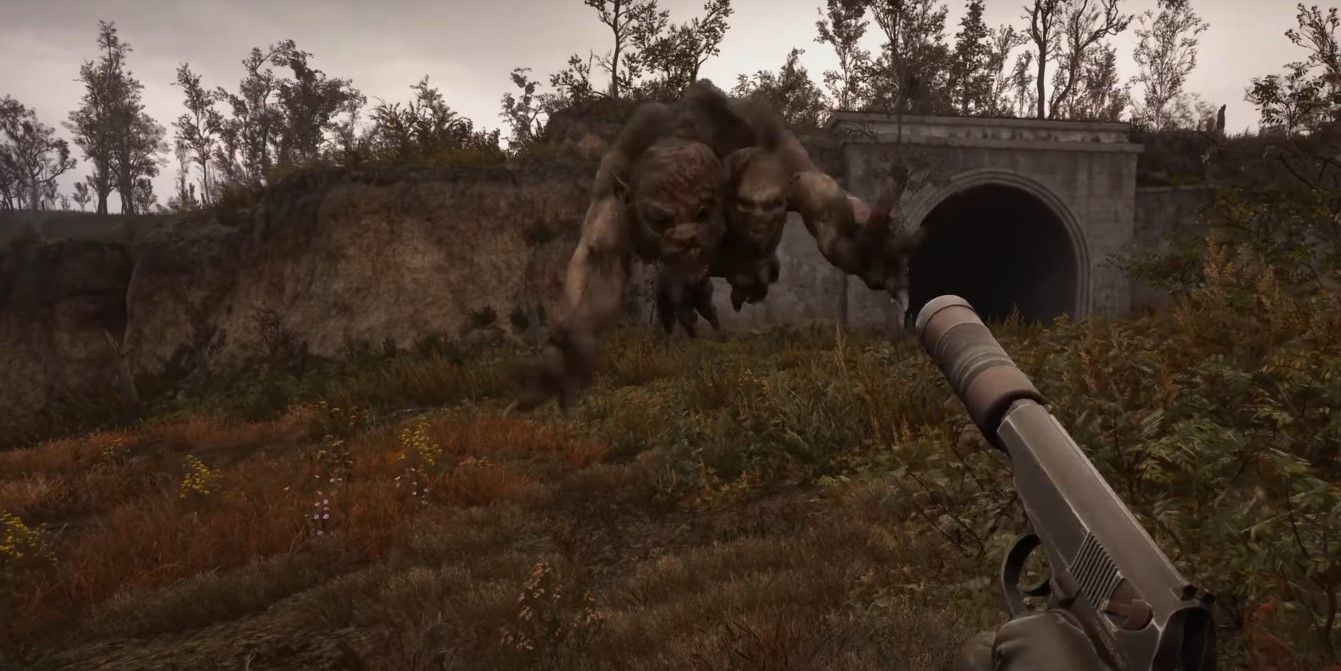
The Chimera is the apex predator of the Zone, and the only nice thing about it is that finding one is exceedingly rare.
This two-headed beast has duplicated vital organs, insane physical prowess, and regenerative powers.
A Chimera likes to stalk its prey from afar, before making a fast dash to strike. It can leap onto almost any platform and is virtually impossible to outrun.
Upon hitting, the Chimera knocks stalkers down, using that time to reposition for follow-on attacks.
The extreme health pool makes it almost invulnerable in the wild, as its speed makes it hard to hit in the first place.
There is only one reliable way to kill a Chimera, and that is to head indoors. Its size prevents it from passing through most doorways (though it can occasionally squeeze through).
Enter a building, then take potshots at the Chimera through the door or window until it is down. If you happen to run out of ammo, use that PDA of yours to leave a message to your loved ones, because it is over for you, stalker.
Next
STALKER 2: The Price Goes Up Quest Guide
How to find Diode’s workshop, Nestor’s stash, and which path to pick afterward.

